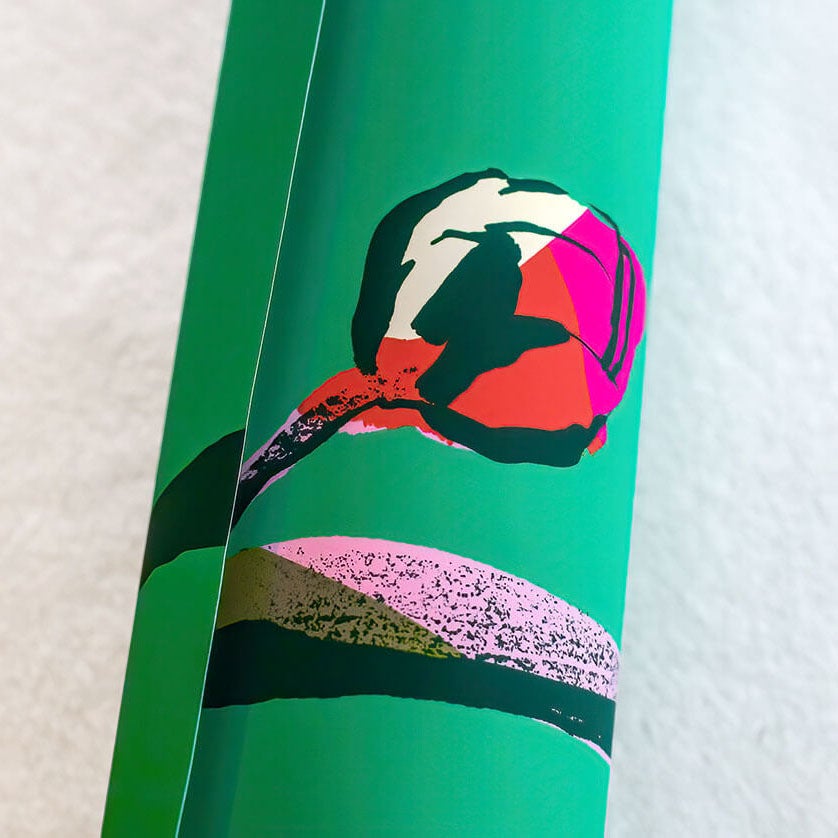
Your print arrives from Elise Thomason Print Studio, and it came in a tube. It's curled up like hot-rolled hair in the 1990s. Now what? Once you know how to flatten a poster, it will look much better in your frame.
It's easy to get your print to lay flat by following these steps:
1. Gather these common materials:
- About a dozen sheets of regular-sized printer paper (or any other clean paper you have lying around).
- A roll of masking tape or clear tape
- A clean, soft blanket or towel
- Optional: an empty gift wrap tube
2. Wash your hands like you just cleaned a cat's litter box.
You don't want fingerprints on your work. You could even throw on some gloves if you can still be dexterous with them on.
3. Spread out your blanket or towel.
This will help you to not scratch or wrinkle your print.
4. Prep your materials.
Tear off three pieces of tape, and divide your paper into 3 stacks of 3-4 sheets (for a large print, or more like 2 stacks of 3-4 sheets for a small 8x10). Eyeball the diameter of your rolled-up print. You'll use this info in the next step.
5. GENTLY start to roll your print in the opposite direction of its curl.
NOTE: be extra, extra careful with this step. Take your time. Don't wrap it any more tightly than it was wrapped in the other direction in the tube in which it came. Wrapping too tightly will put some kinks in your art.
In this step, you may find it helpful to use and old gift wrap tube to help you get your roll started in the other direction, but it's definitely not necessary. If you use a cardboard roll, be sure you don't wrap too tightly around it.
6. Place papers around it to hold the roll you've made.
It's going to want to "boing" into its old shape, so keep one hand around it while you work. Grab a stack of printer paper and wrap it around the middle of your rolled print. Secure the printer paper to itself (not to the print!) with tape. Add the other stacks of paper to the ends of the print, so all of it is covered.
7. Leave it alone for 30 minutes, then remove the printer paper.
Et Voila! It should be flat by now! If it's still a little curled, you can always repeat the previous steps, but don't leave it too long or it'll curl in the opposite direction.

Happy decorating!
Here's a framing guide to help you get it into a great-looking frame.


Leave a comment